Launcher Setup
Setup Overview
After installation, the Launcher presents a web-based Setup Wizard that guides you through configuring your first Cyolo component. The wizard is accessed via the Launcher UI at http://localhost:8080 (through an SSH tunnel).

The wizard consists of multiple steps. The exact number depends on the selected component. Steps must be completed in order, but you can return to previous steps to update settings.
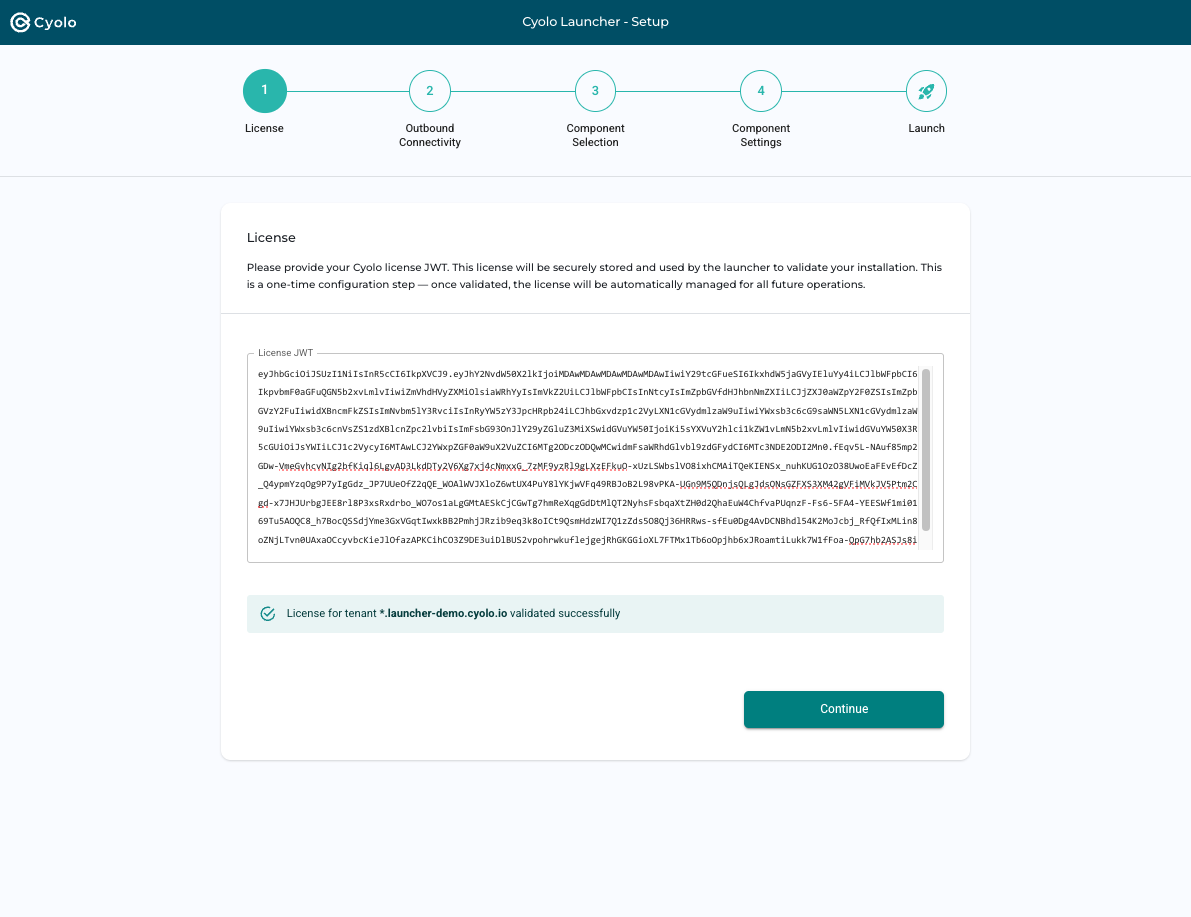
Step 1: License

Paste your Cyolo license JWT into the text field. The license is a long string starting with eyJ and consists of three Base64-encoded segments separated by dots.
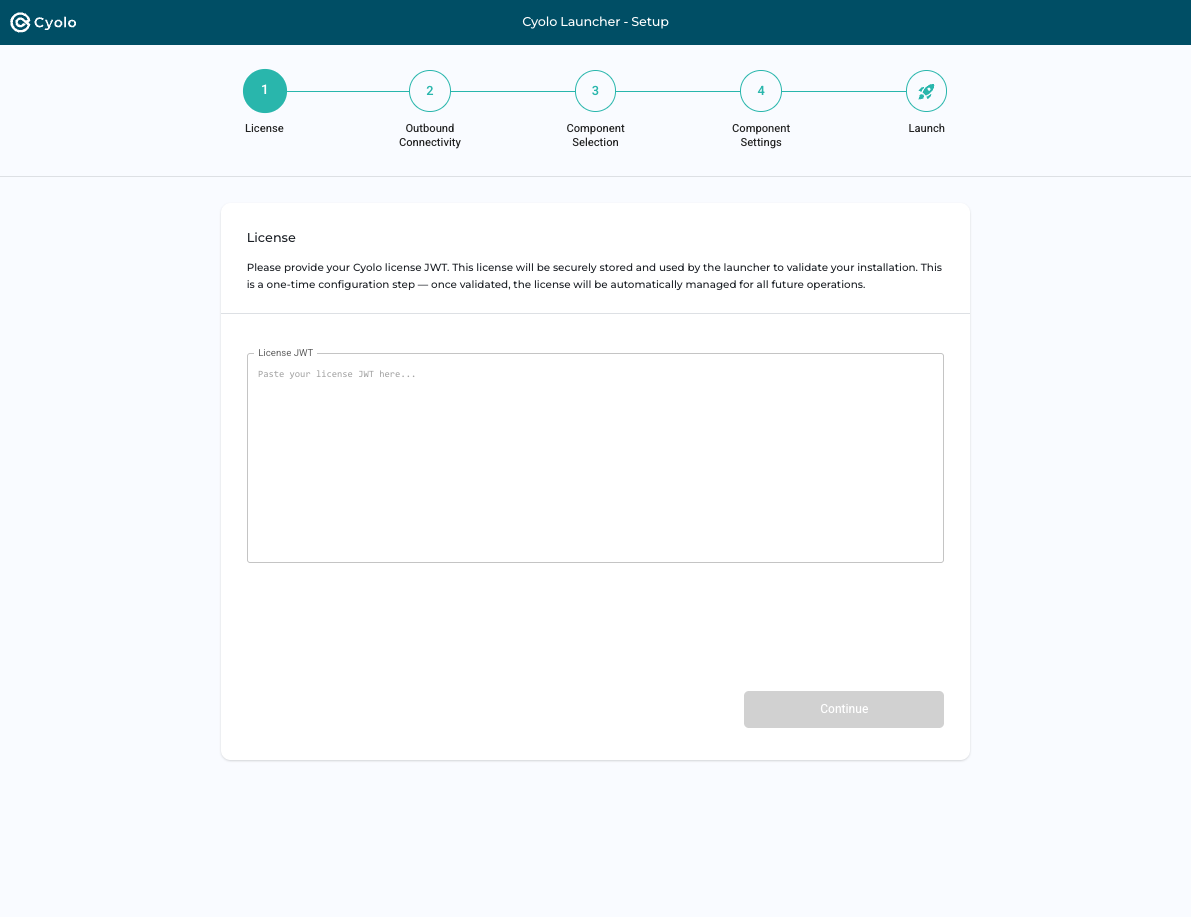
The Launcher validates the license automatically. When validation succeeds, a confirmation is displayed showing the tenant name and base domain.
If the Launcher is already registered to a tenant, the license field is locked and a Disconnect and Reset option is available.
Step 2: Outbound Connectivity

Configure how the Launcher connects to the Cyolo cloud. Select one of the following modes:
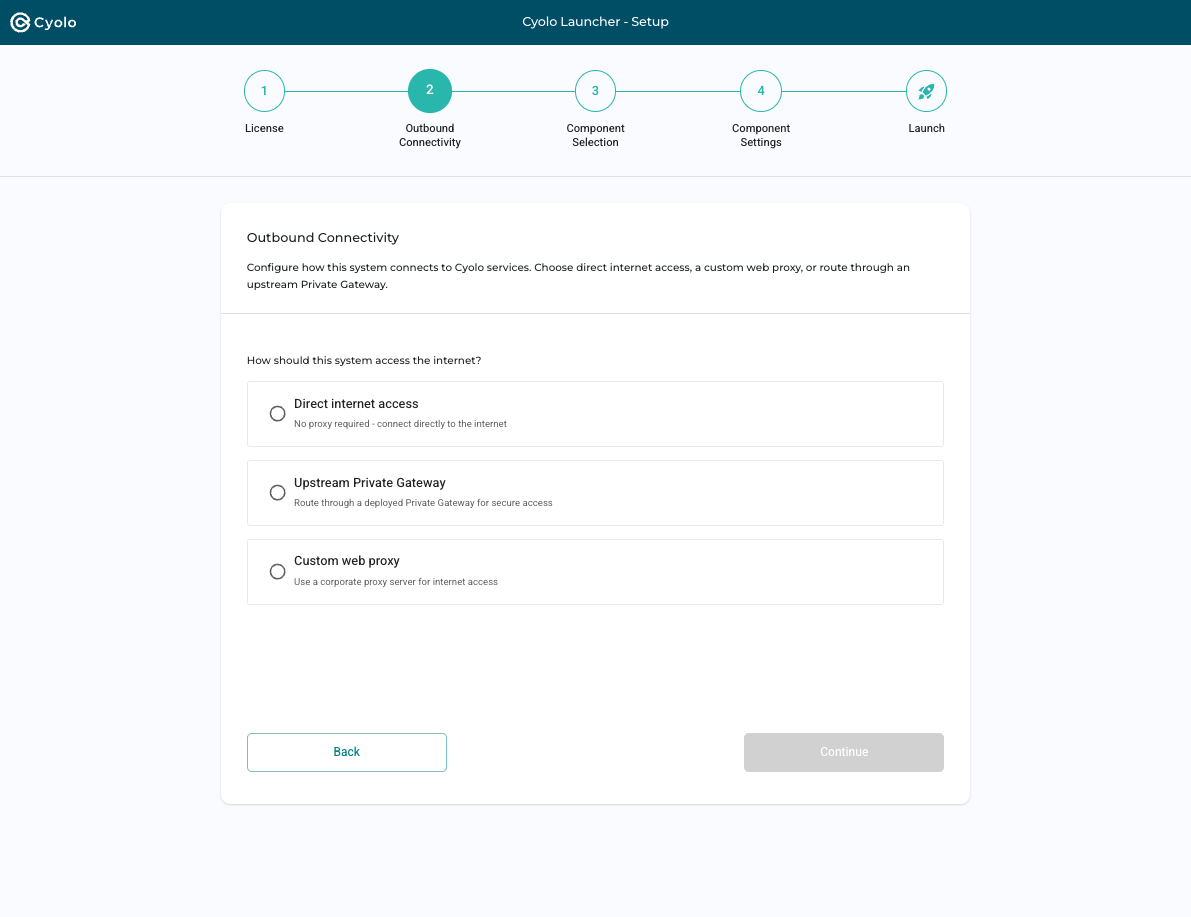
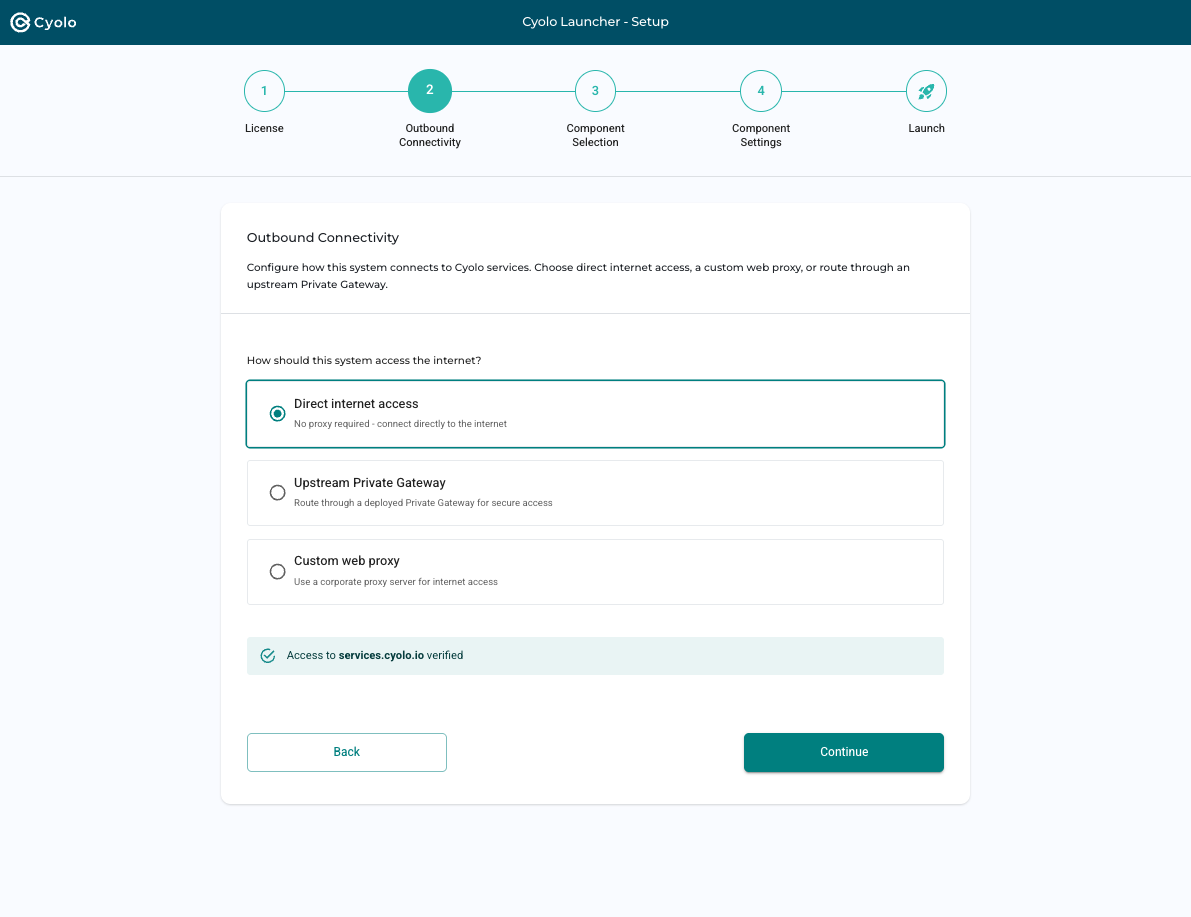
Direct Internet Access
The Launcher connects directly to the Cyolo platform. No additional configuration is required.
Custom Web Proxy
Enter the proxy URL (for example, http://proxy.company.com:8080). All outbound traffic is routed through the proxy.
Upstream Private Gateway
Route traffic through an existing Private Gateway deployment. Configure the following:
- Whether the upstream PG is in the same tenant or a different tenant
- The PG address (for example,
pg.company.com:443) - If using a different tenant, provide the upstream tenant’s license JWT
Connectivity is tested automatically when settings are updated. When successful, a confirmation message is displayed.
If the tenant is reachable, you can enable Remote Access to allow remote management from the Cyolo console.
Step 3: Component Selection

Select the Cyolo component to deploy:

| Component | Description |
|---|---|
| IDAC | Identity & Access Control, the core platform |
| Private Gateway | Edge routing and TLS termination |
| Connector | Connects private resources to Cyolo |
| Fabric Controller | Network segmentation controller |
Package Download
After selecting a component, click Download to retrieve the component package.
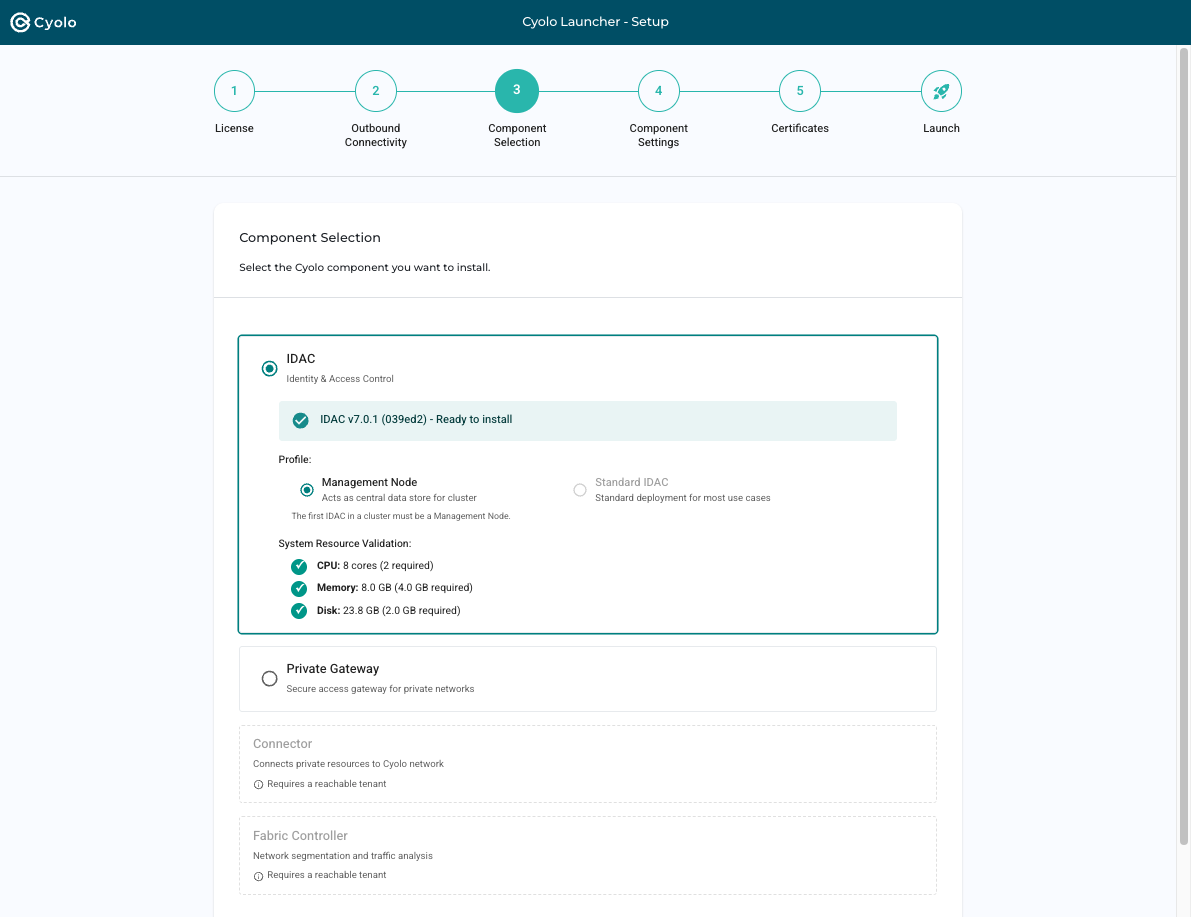
Once downloaded:
- The configuration schema is loaded
- Profile selection becomes available (for example, Management Node vs. Standard IDAC)
- System resource validation is performed (CPU, memory, disk)
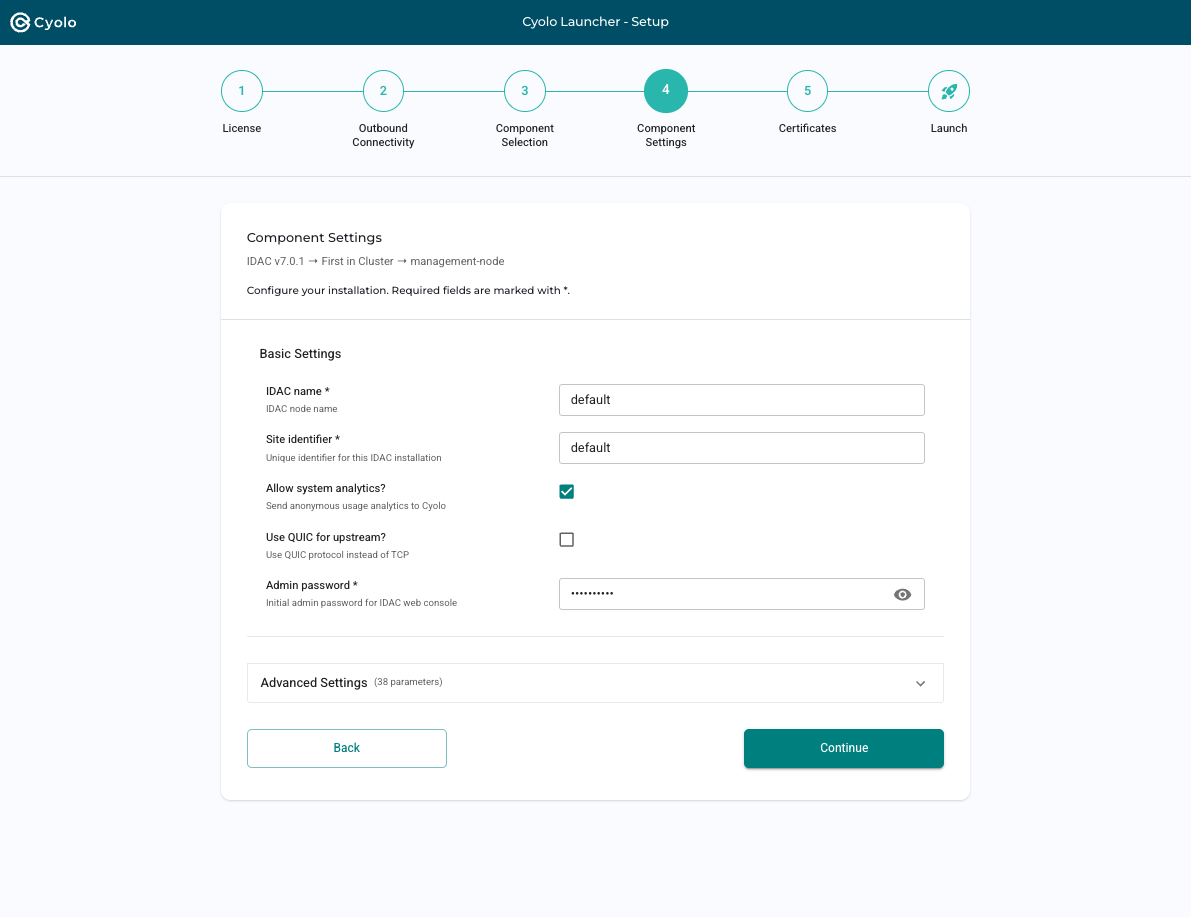
Step 4: Component Settings

Configure the component parameters.
Settings are divided into:
- Basic Settings: Required fields such as name, site identifier, and admin password
- Advanced Settings: Optional parameters grouped by category
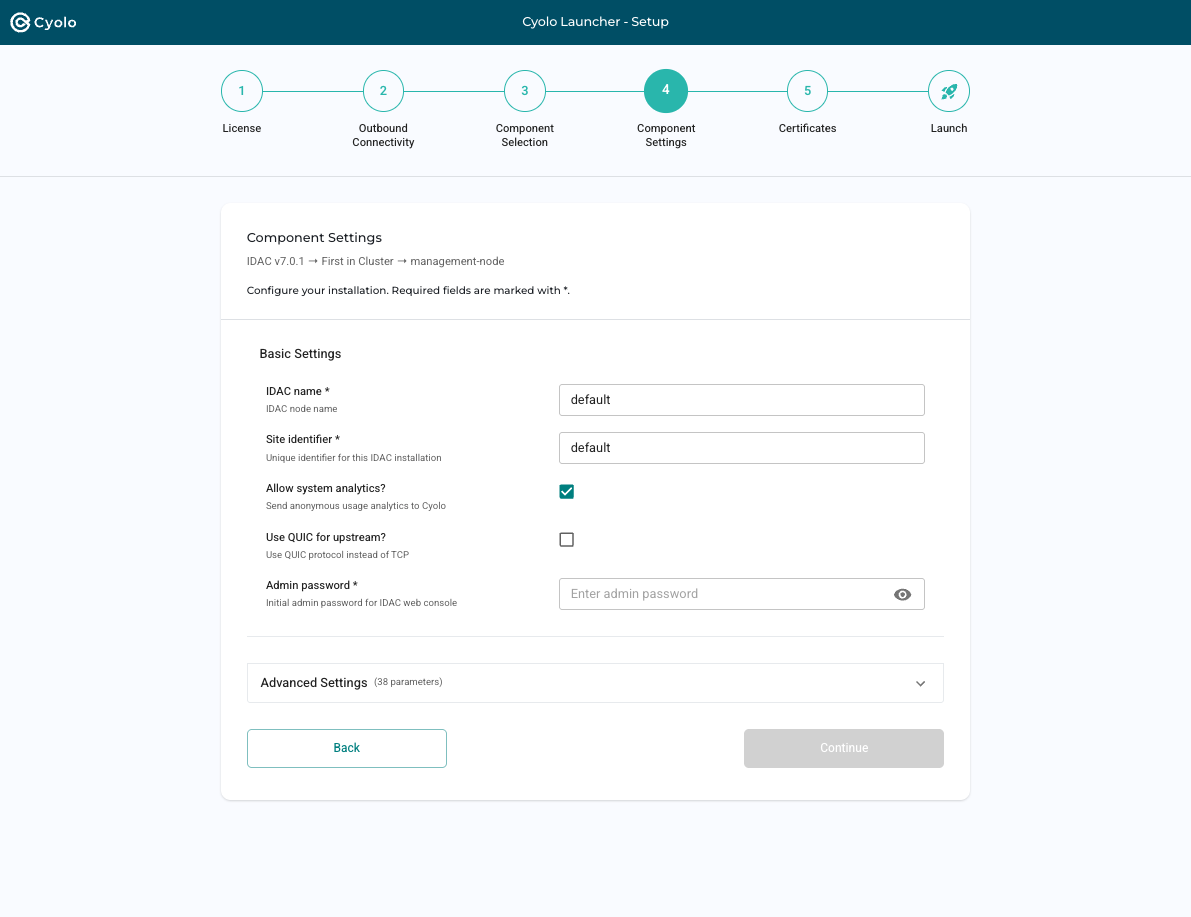
Fields marked with * are required. Default values are suitable for most deployments. Typically, only the admin password needs to be set.
Provisioned Mode
When joining an existing cluster, some settings are inherited from the cluster configuration.
- Inherited values appear as pre-filled fields
- Conflicts between local and cluster values are highlighted
- You can choose which value to apply
Step 5: Certificates
This step is required for IDAC (bootstrap mode) and Private Gateway deployments.
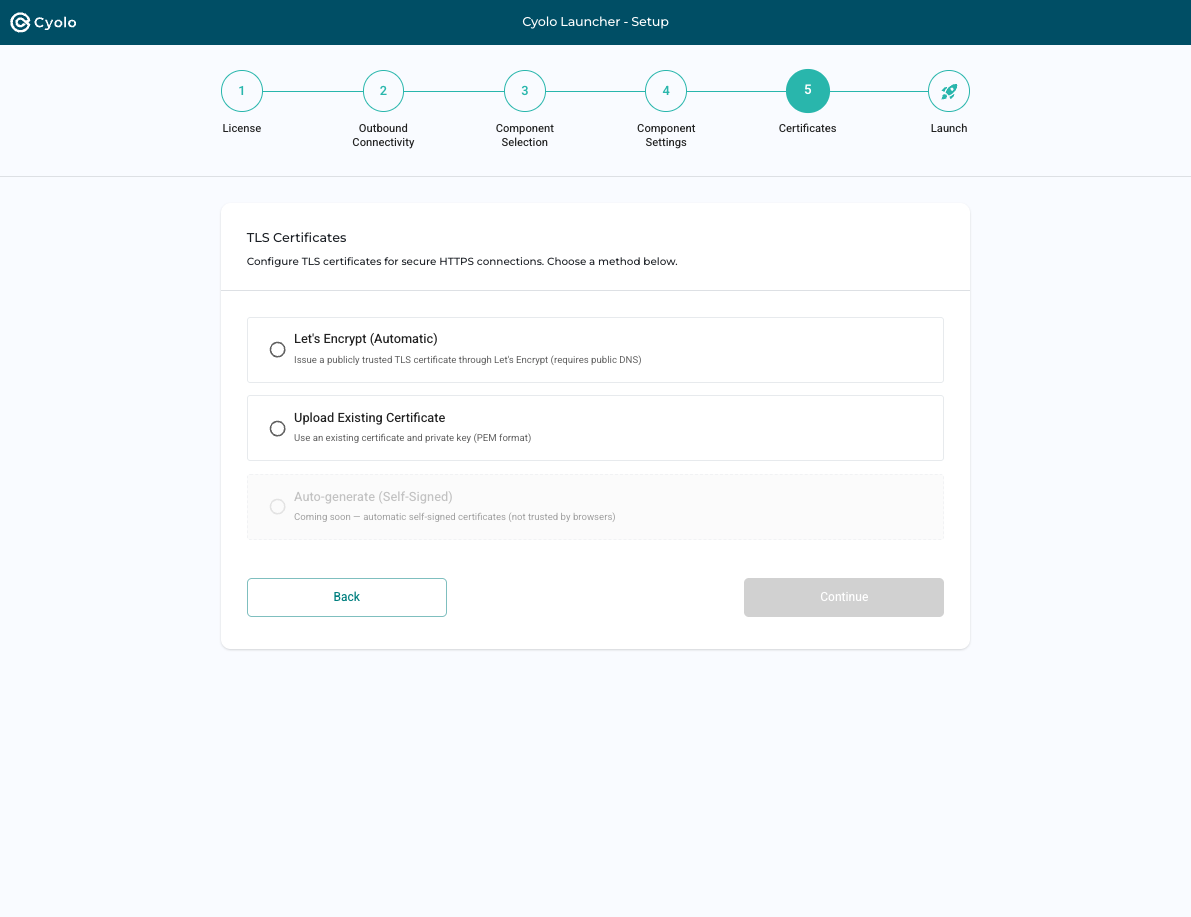
Choose one of the following certificate options:
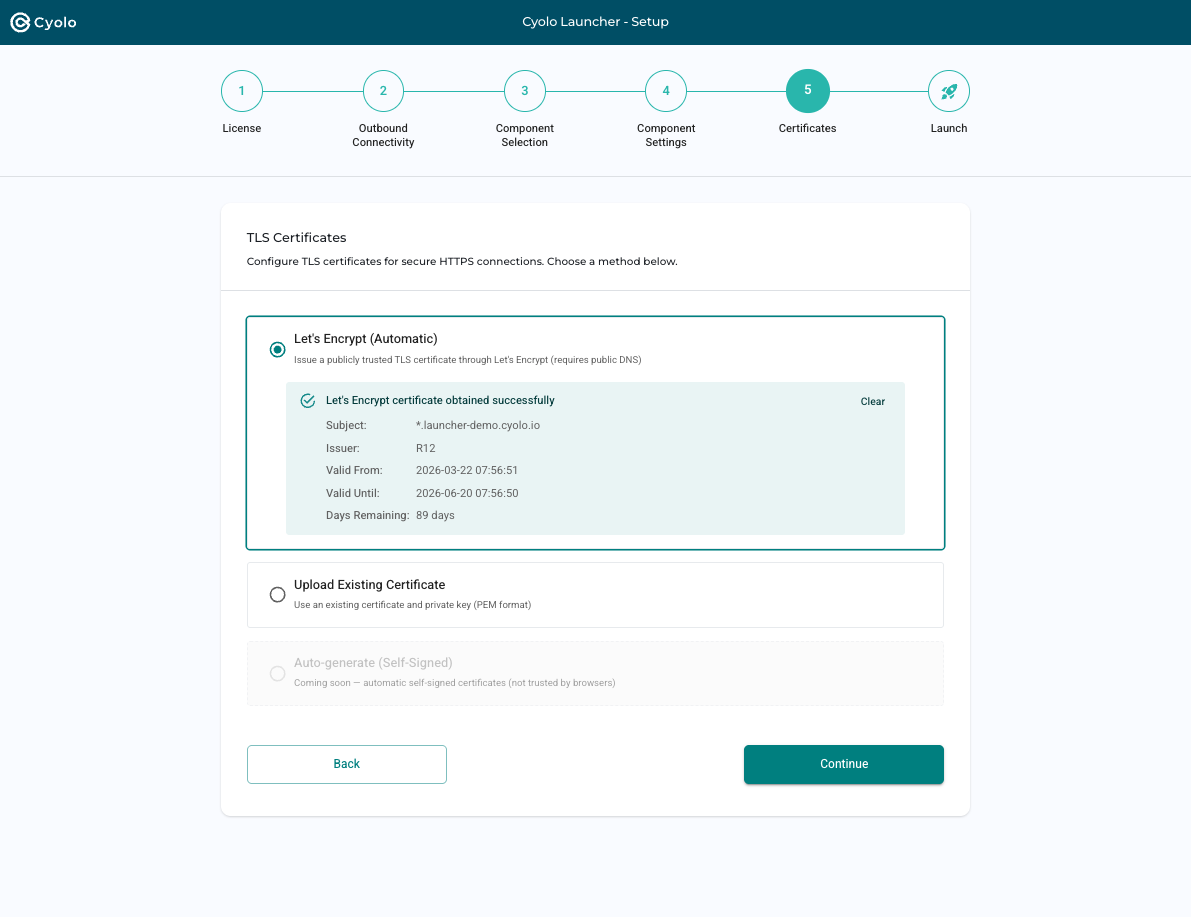
Let's Encrypt (Automatic)
Available when the domain has public DNS.
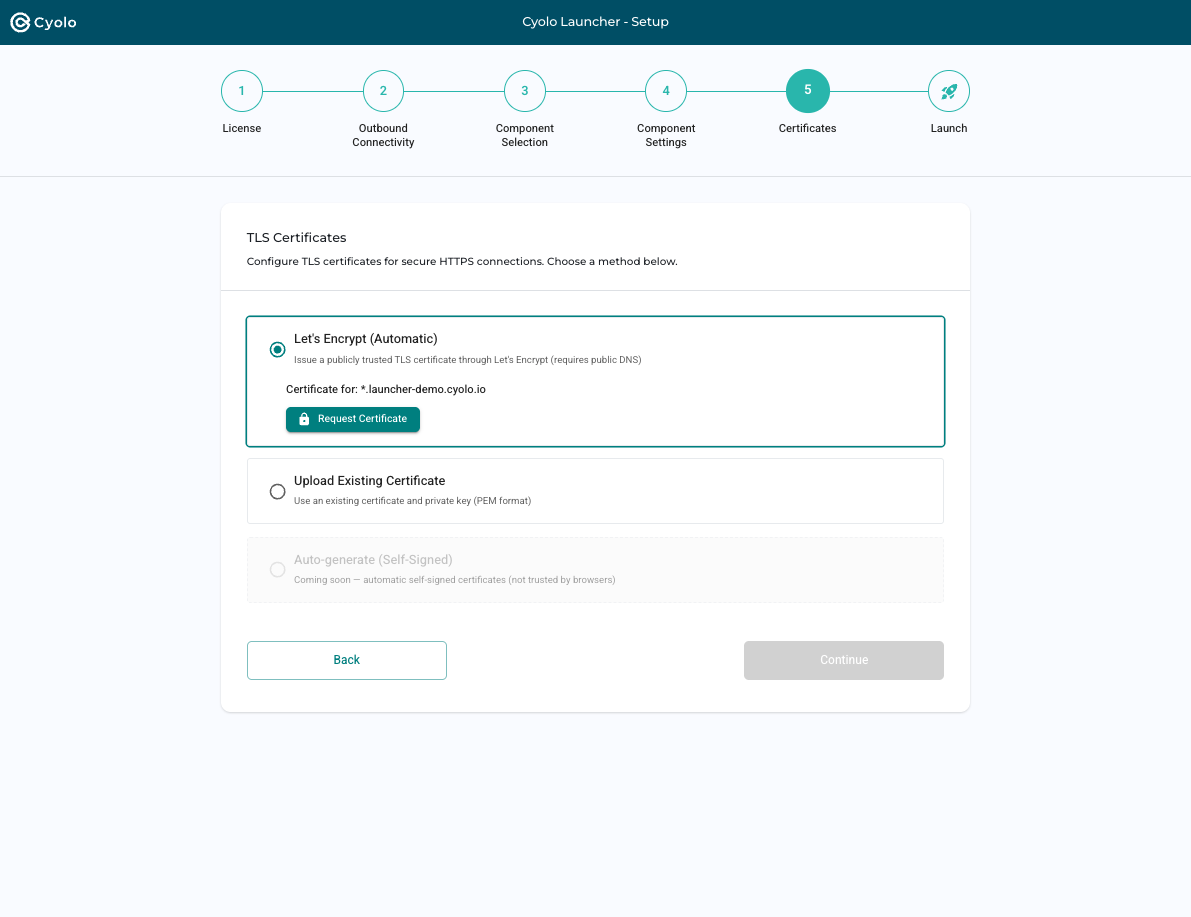
- Click Request Certificate to generate a wildcard certificate via ACME
- The process typically takes 20–40 seconds
- A progress bar shows status (up to a 10-minute timeout)
- On success, certificate details are displayed (subject, issuer, validity, expiration)
Upload Existing Certificate
Upload a certificate and private key in PEM format. The Launcher validates that they match.
Auto-generate (Self-Signed)
Coming soon. Generates self-signed certificates (not trusted by browsers).
Step 6: Launch

Review the configuration summary, then click Launch Installation.
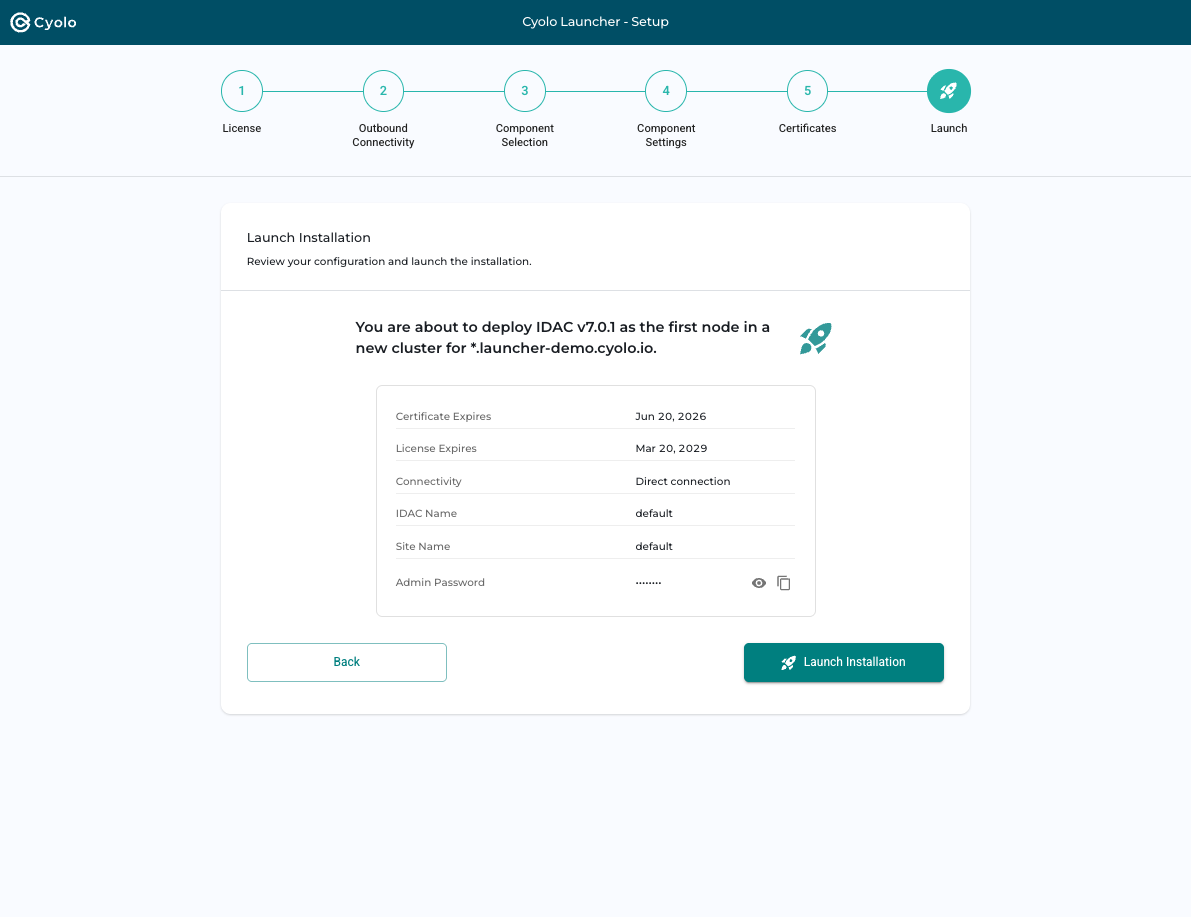
The summary includes:
- Component and version
- Certificate and license expiration dates
- Connectivity method
- Component and site names
- Admin password (masked, with reveal and copy options)
After launching:
- The component package is extracted
- Services are started
- A progress bar shows real-time status
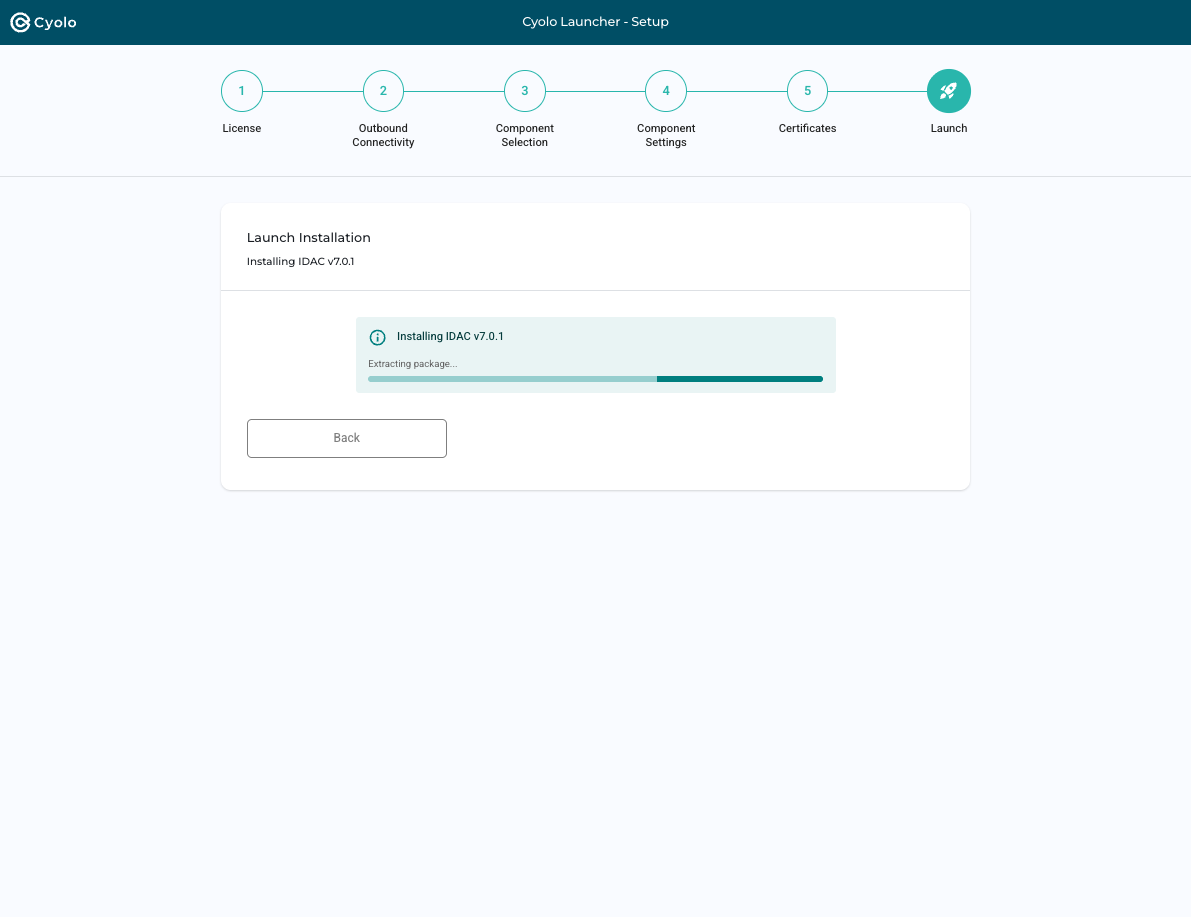
On success, you are redirected to the Operations Dashboard.
If an error occurs, an error message is displayed with a Retry option.