Install Planned IDAC
PrerequisitesBefore beginning this installation procedure, run the check for access to internet resources as detailed here.
Overview
If you already have an IDAC installed and want a new installation to use the same core configuration, follow the procedure below.
In the Cyolo Admin Panel
- On the IDAC page, select New.
- Enter the following details:
- IDAC Name
- Site
- Upstream address
- Port
- Click Save.
- Copy the installation command link.
From the Command Line
- Paste the command copied in the previous phase into a command line and press Enter. An example of the command appears below.
CYOLO_TOKEN=domain.cyolo.io@CWjq63Sb bash <(curl -fsSL https://deploy.cyolo.io/get-cyolo)
- The installation wizard runs.
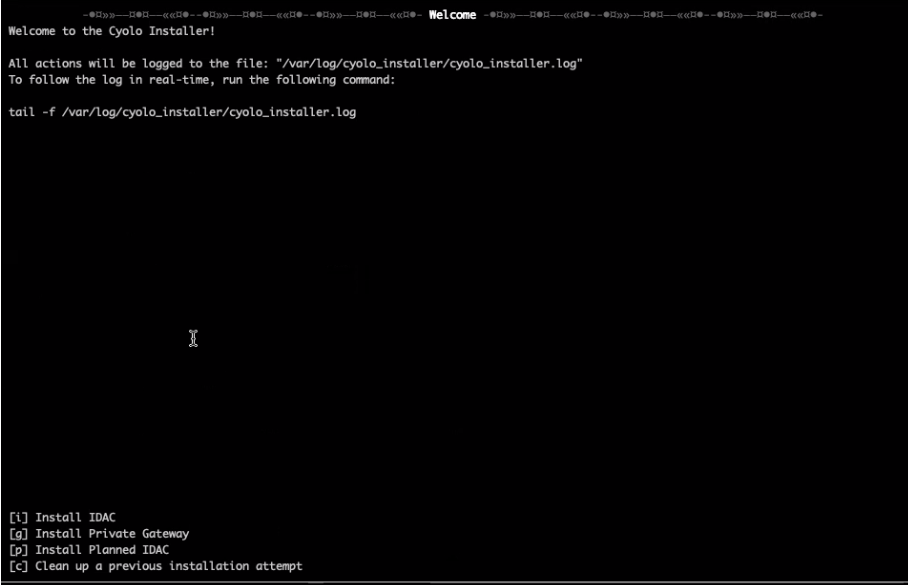
-
Press the letter p on your keyboard.
-
Press Enter when prompted to do so by the wizard.
-
The screen shown below will appear and the Planned IDAC Token will already be shown in the input field at the bottom of the screen.
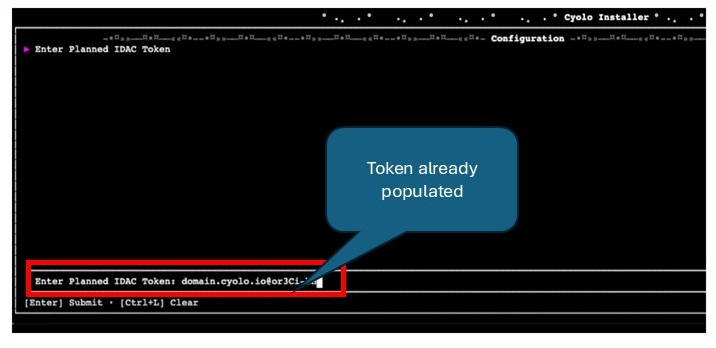
- Press Enter.
The installer will display the final setup steps. No input is required.
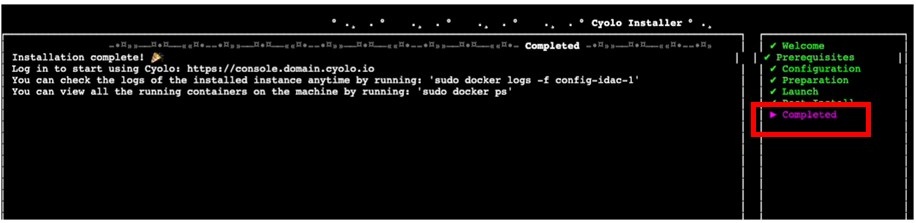
Planned IDAC Installation Complete

The IDAC is now online