Private Gateway- Basic Installation Procedure
Step 1: Download and Execute the Installation Wizard
- Copy the command below, paste it into the terminal, and press Enter:
bash <(curl -fsSL https://deploy.cyolo.io/get-cyolo)The installation package is downloaded and executed.
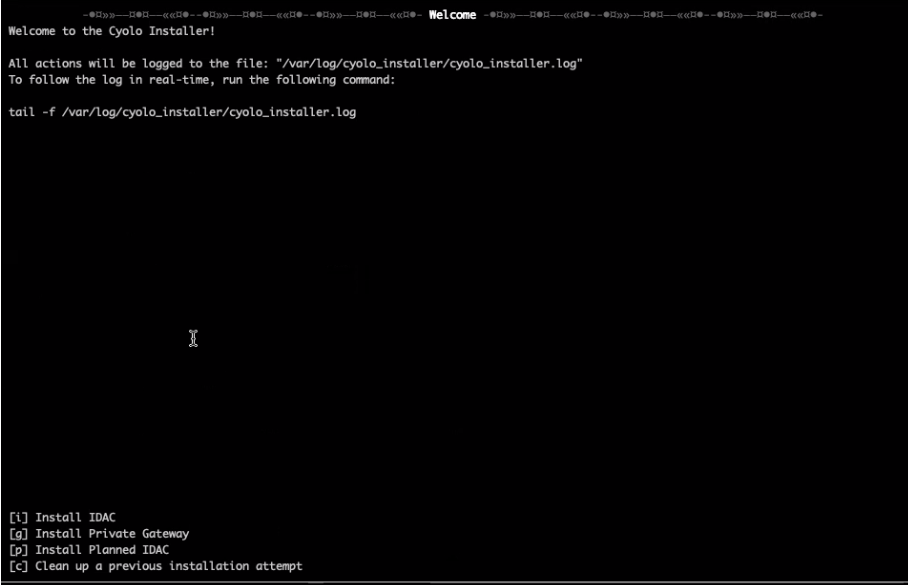
- Press the letter g on your keyboard.
Step 2: Installer Checks Prerequisites
In the first phase, the installation wizard checks the resources available on the machine on which you are installing the PG.
Helpful HintSee Working with the Installer Wizard for information that will help you navigate smoothly through the installation process.
Step 3: Configuration Steps
Follow the Configuration steps in the table below.
Step | Description | Notes |
|---|---|---|
Enter Installation Path | ||
Enter License Key | Copy the content of the license key file and paste it here. | The license is a jwt file. |
Enter Upstream Address | Leave empty for no upstream. | |
Enter Upstream SNI | Default - tcp.cyolo.io | If you use a private gateway, enter its SNI. |
Enter the SNI of this PG | ||
Enter the Affinity Address | Optional | |
Enter the port this PG will listen on | ||
Enable PostgreSQL | ||
Enable MySQL | ||
Certificate Source Selection |
| If Yes, then you will be prompted to paste in the certificate. |
Enter PG Name | This name will be used in the UI whenever a site selection is required. |
Step 4: Preparation, Launch and Post-Installation Phases
The installer will display the final setup steps and indicate pass or fail. No input is required.
- Set Installation Files and Directories
- Generate Certificates
- Install System Utilities
- System Administration Configuration
- Set Network Time Protocol
- Configure Docker Repository in Package Manager
- Install Docker
- Install Docker Compose
- Docker Container is Up
- Cluster Health Check