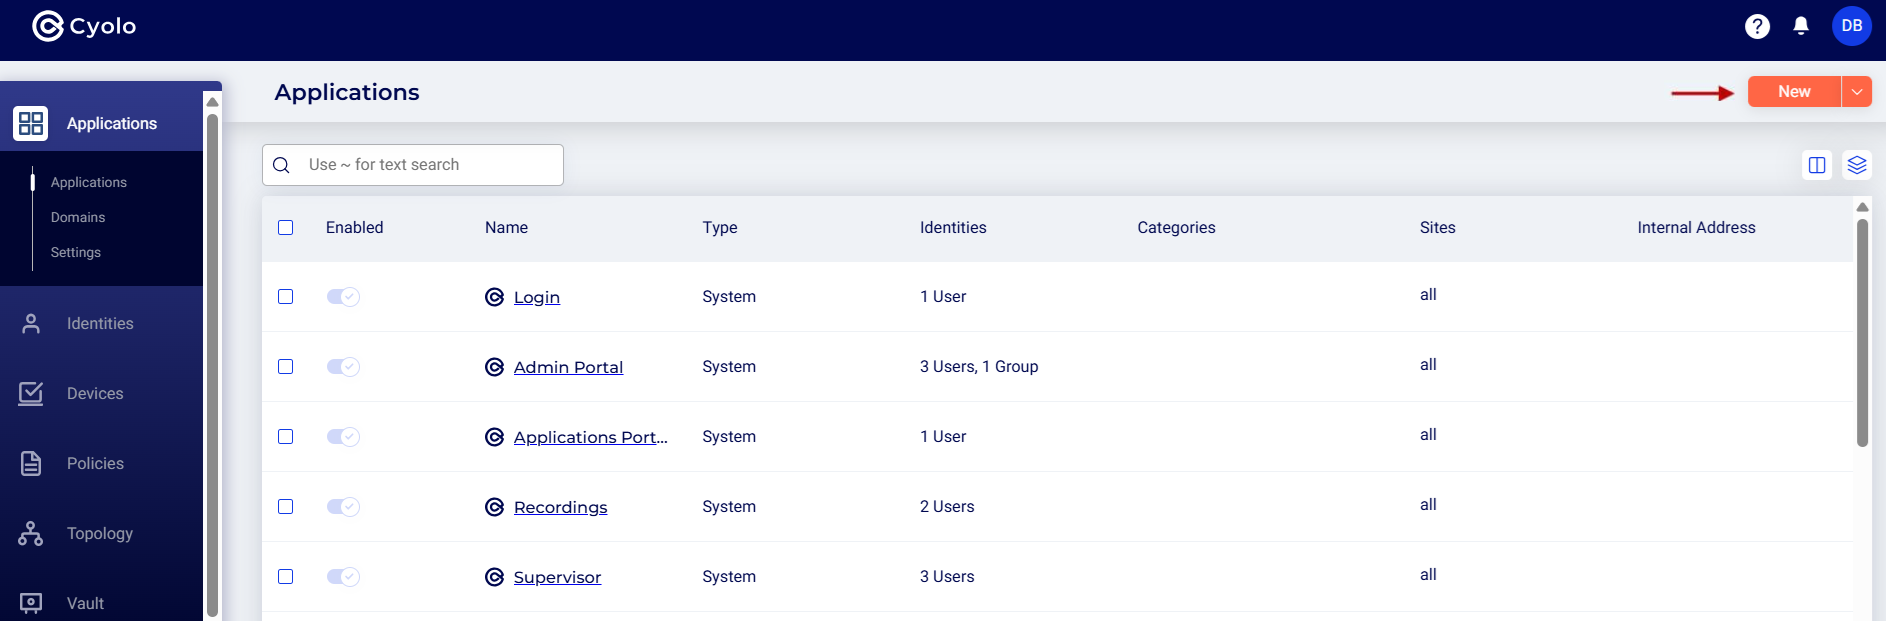
Configuring RDP Server Access
Prerequisites
-
Ensure the server has the Remote Desktop Services (RDS) role added and RemoteApp programs published.
-
For a detailed overview on configuring applications on the Cyolo admin portal, refer to the section: Add Application.
Configuration
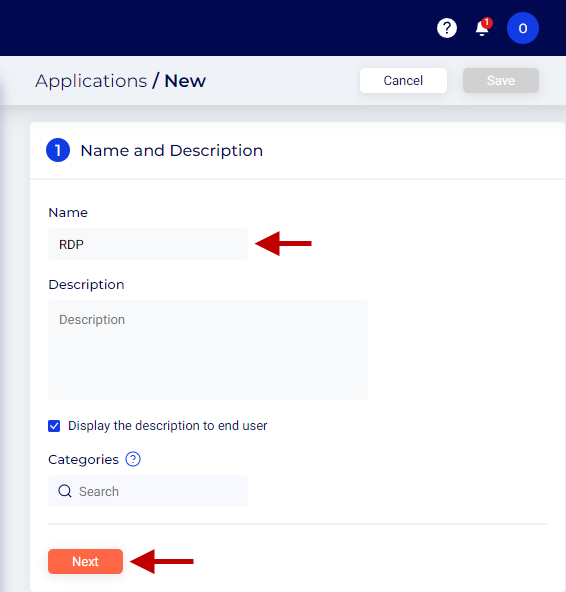
- Name and Description
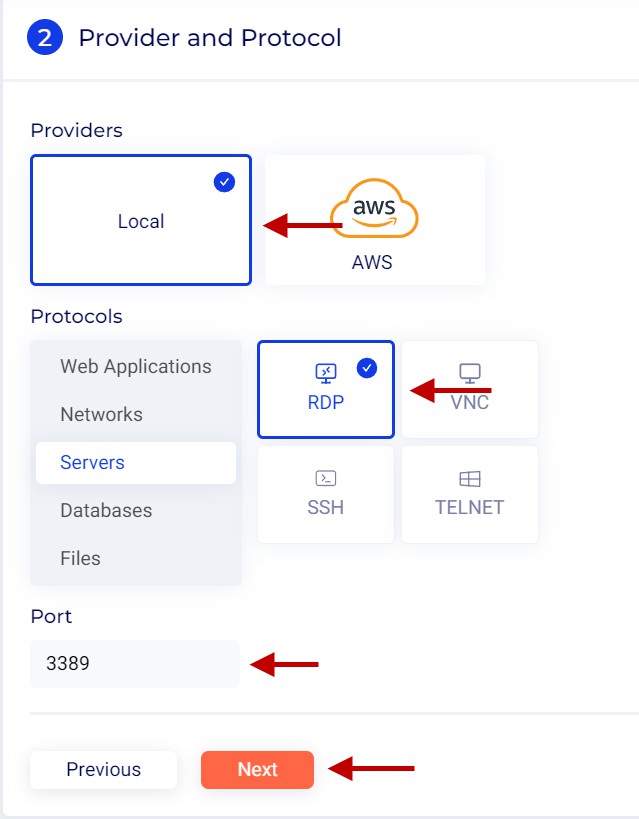
- Provider and Protocol
In this section, we set the location and protocol information of the server.
- Providers --The Cyolo platform currently supports applications hosted in two locations:
**Local:** Applications that are hosted within corporate network **AWS**: Applications hosted in the AWS cloud. For this article, we will select **Local**.-
Protocol - Click Servers and select RDP.
-
Port - The port number of 3389 is auto-filled with the default port number for RDP.
Application Parameter
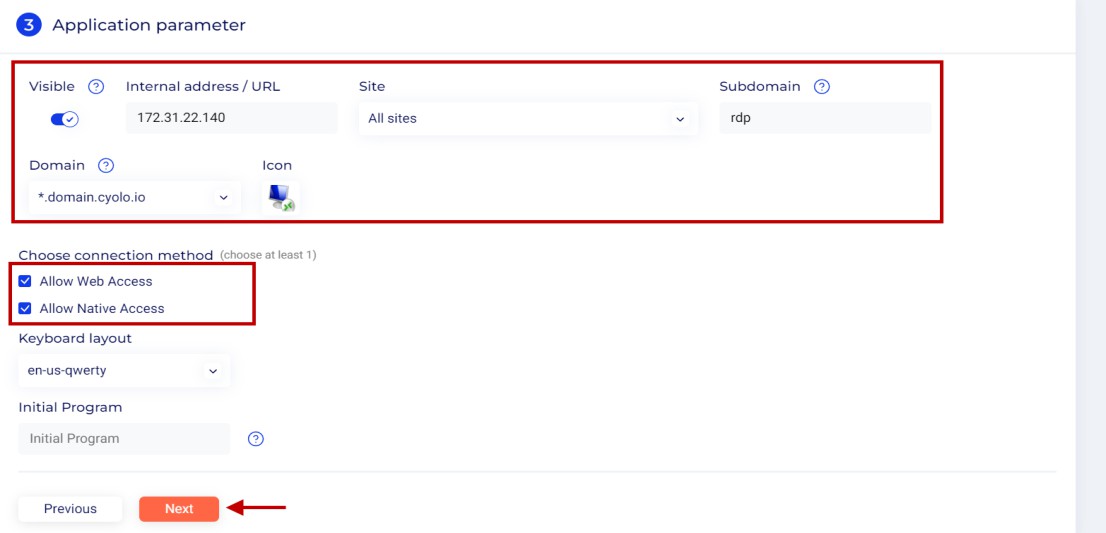
In this section, we set the internal and external IP address or URL of the server, and other parameters.
-
Internal address / URL - Enter the internal IP address or URL of the server. For this article, we enter 172.31.22.140.
-
Site - Click the drop-down under Site to select either All Sites or a specific site by name.
-
Subdomain - Enter a prefix name preceding the tenant domain name. In this example, we enter rdp.
-
Domain - Domains added under Applications > Domains page are listed here. By default, the tenant domain is displayed in this field. Click the drop-down to select the domain of your choice. For this article, we select the domain *.domain.cyolo.io. The published URL will be rdp.domain.cyolo.io.
-
Choose the connection method -- Select the method the user will use to connect to the server. These are the two options available:
-
Allow Web Access - Selecting Web Access will open the RDP connection within the browser.
-
Allow Native Access - Selecting Native Access will connect using the native Remote Desktop client. The connection is established using the downloaded file, with the relevant server information and with an extension of rdp. For this article, we select both. Enable the checkboxes under Allow Web Access and Allow Native Access.
-
-
Keyboard Layout - Select the relevant layout for your keyboard. By default, it's set to en-us-qwerty.
-
Initial Program -- To limit access to specific programs within the server, enter the name of the programs separated by commas. For example, notepad, wordpad.exe, calc.exe. In this article, we
leave it blank.
Note: The Remote Desktop Services (RDS) role must be installed on the server and RemoteApp programs must be published for this option to work. For the purpose of this article, this option is left blank. For more information, refer to [Reference] Configuring RemoteApp on Windows Server – General Microsoft Procedure.
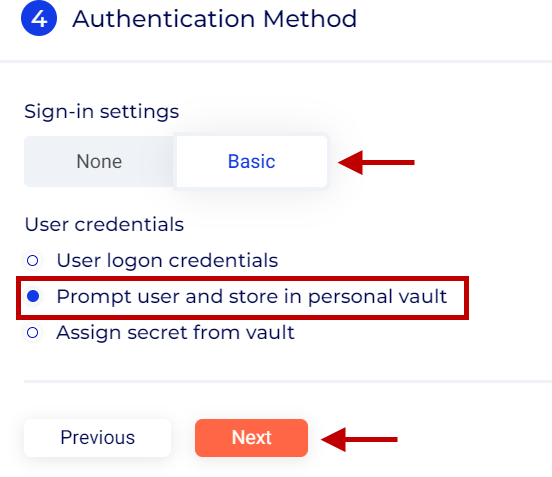
Authentication Method - Sign-in Settings
This section is for setting the authentication parameters for logging in to the server after connecting to it. For a detailed overview on authentication methods, refer to the section: Authentication Method.
- For the purpose of this article, we select Prompt user and store in personal vault.
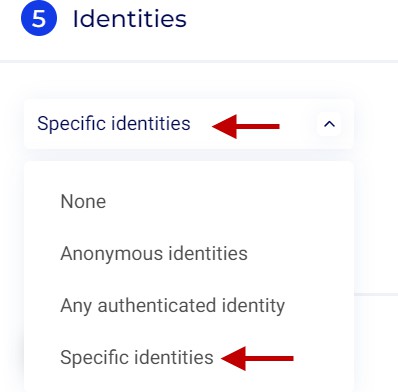
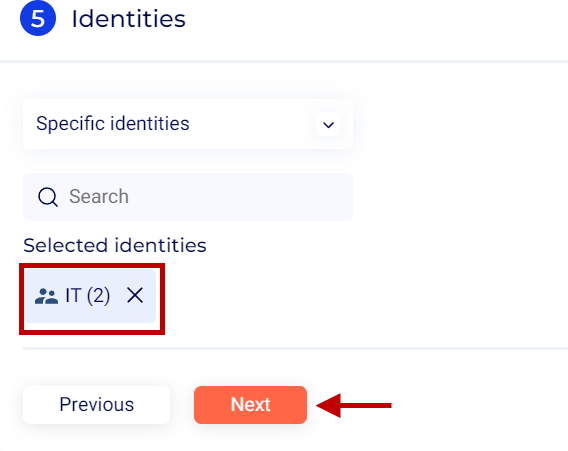
Identities
This section allows the admin to specify the users or user groups that can log in to the Cyolo Application Portal to view and access the server. For more information on configuring identities, refer to the section: Identities.
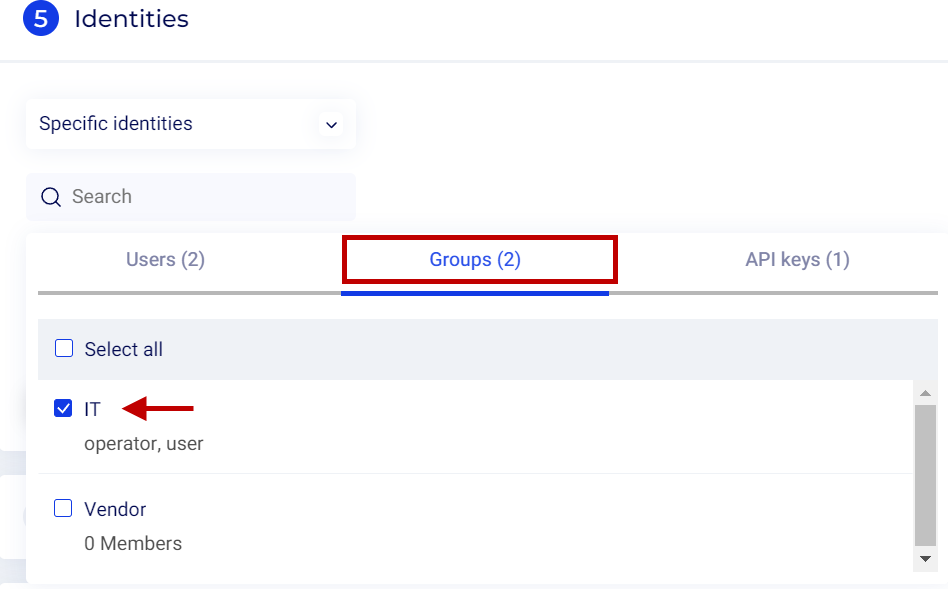
- For the purpose of this article, we select Specific identities.
-
Click the Search box, and select Groups.
-
Select the group IT.
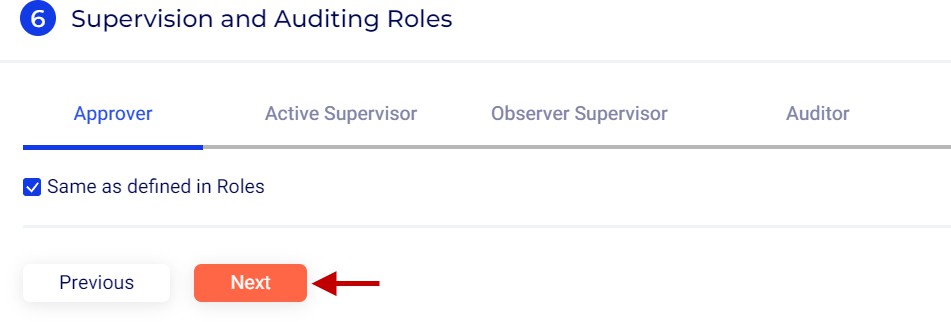
Supervision and Auditing Roles
This section allows the admin to configure supervisory and auditing roles to manage the user's access to the server. For more information on supervisory and auditing roles, refer to the section: Supervision and Auditing Roles.
- For the purpose of this article, we retain the default settings for each role. Keep the option Same as defined in Roles enabled.
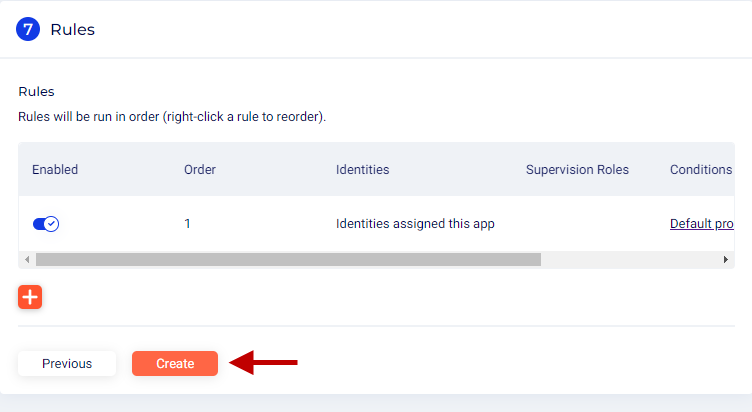
Rules
-
Rules - Click the + button to add a rule.
-
Keep all options at default, including Default profile under Conditions and Default profile (RDP) under Actions. For more information, refer to the section: Rules.
-
Click Create to publish the application.