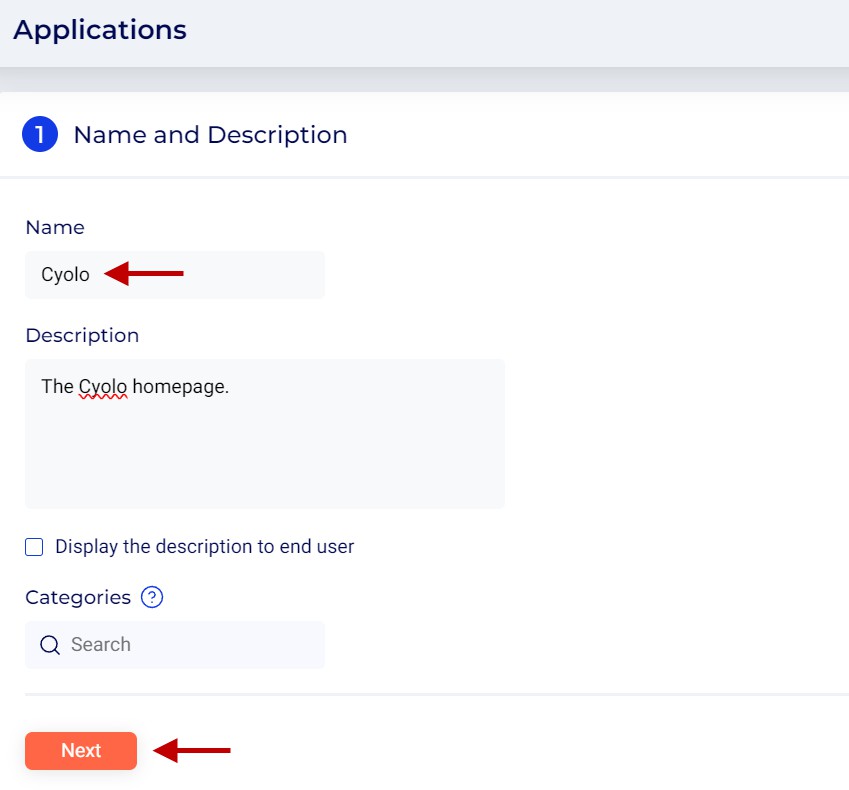
Configuring HTTPS Server Access
Configuration
- Name and Description
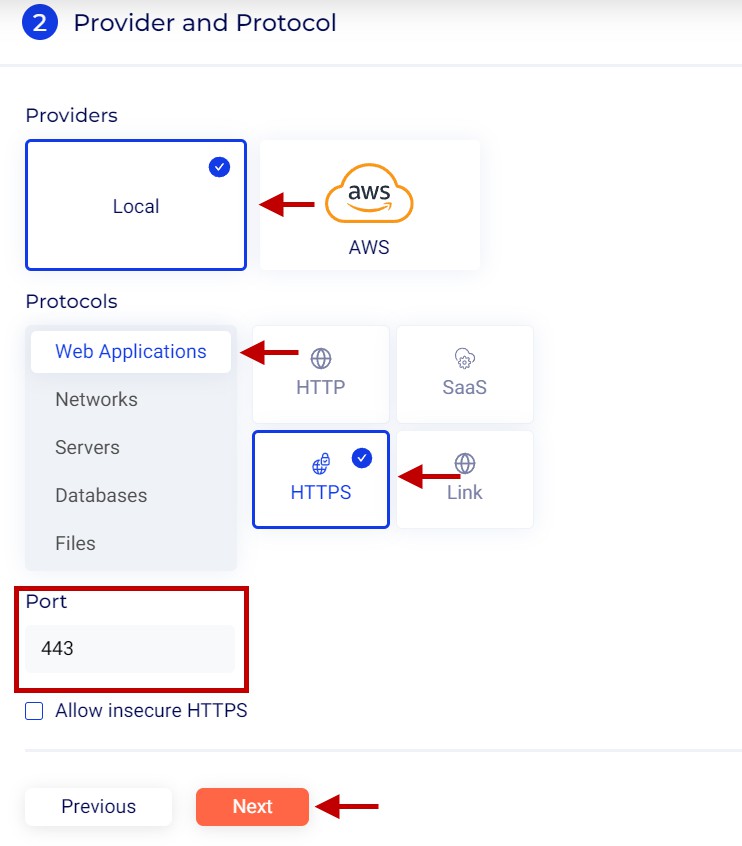
- Provider and Protocol
Set the location and protocol information of the server.
- Providers -- The Cyolo platform currently supports applications hosted in two locations: Local and AWS. For this article, we will select Local.
- Protocol - Click Web Applications and select HTTPS.
- Port - The default HTTPS port number of 443 is auto-filled.
- Allow insecure HTTPS -- Keep this option unchecked.
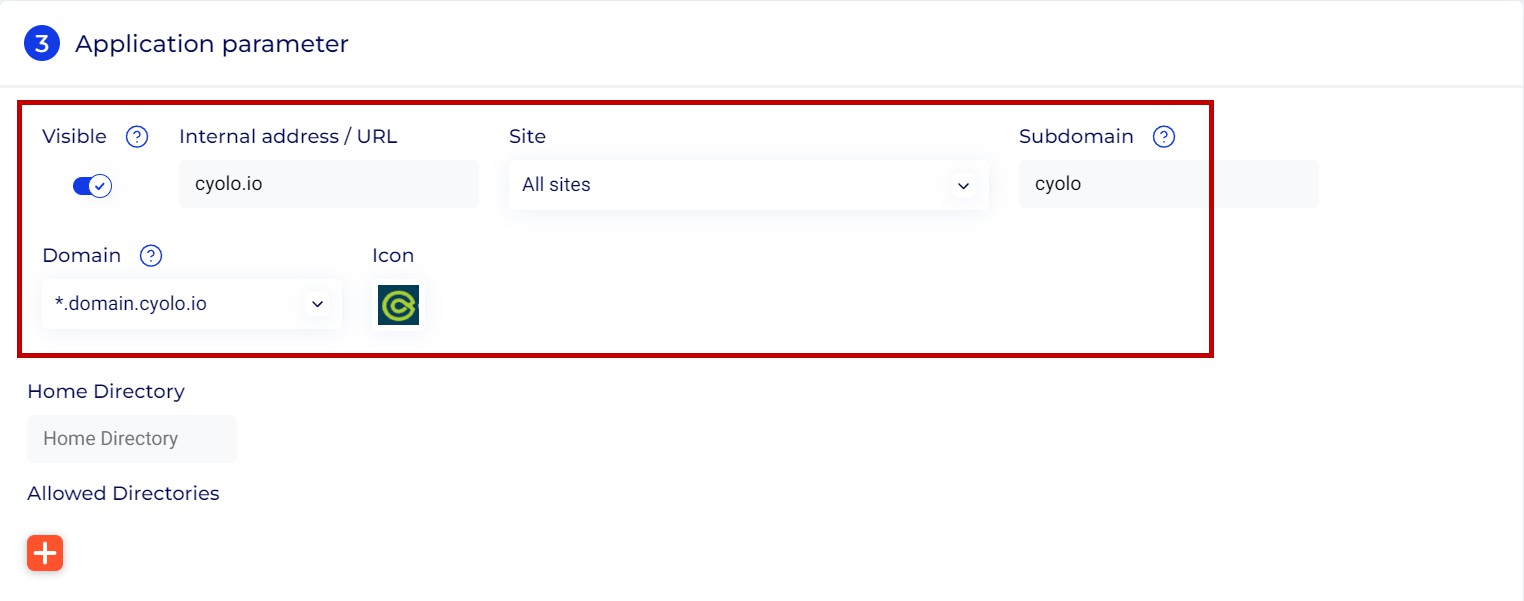
Application Parameter
Set the internal and external IP address or URL of the server, and other parameters.
Configuration options specific to this article are shown here. For more information on the various options available while configuring applications, refer to the section: Application Parameters.
-
Internal address/URL - Enter the internal IP address or URL of the server. For this article, we enter cyolo.io.
-
Site - Click the drop-down under Site to select either All Sites or a specific site by name.
-
Subdomain - Enter a prefix name preceding the tenant domain name. In this example, we enter cyolo.
-
Domain - Domains added under the Applications > Domains page are listed here. By default, the tenant domain is displayed in this field. Click the drop-down to select the domain of your choice. For this article, we select the domain *.domain.cyolo.io. The published URL will be cyolo.domain.cyolo.io.
-
Home Directory -- Optionally, enter /index.html. Leaving it blank will still open page. If your web page resides in a different directory, enter it here.
-
Allow Directories -- Optionally, click the + button to add additional directories that the user is authorised to access; however, this is usually left blank unless the admin wants to limit the users to specific directories.
-
HTTP/S Translate Settings -- The following options are available here.
-
Translate request body (External address to internal) - Enabling this option will translate the external URL or IP address within an HTTP/S request body to the internal URL or IP address of a server. For example, POST requests when submitting data to the server. This is enabled by default.
-
Translate request header (External address to internal) - This option will translate the external URL or IP address within an HTTP/S request header to the internal URL or IP address of a server. Using the example above, the GET request https://cyolo.domain.cyolo.io is translated to https://cyolo.io This is disabled by default.
-
Translate response body (Internal address to external) - This option will translate the internal URL or IP address within an HTTP/S response body to the external URL or IP address of a server. For example, a response to a POST request. This is enabled by default.
-

- Translate response header (Internal address to external) - For example, a response to a GET request. This is disabled by default.
- Translate request query parameters (External address to internal) - This option will translate the external URL or IP address within an HTTP/S query to the internal URL or IP address of a server. This is disabled by default.
For the purpose of this article, keep the default settings.
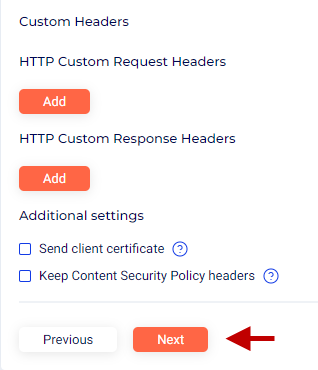
- HTTP Custom Request Headers - Under this option, enter a custom HTTP request header.
- Key - Enter the custom header key. For example, X-Forwarded-For.
- Value - Enter the value for the key. For example, 192.168.1.1.
- HTTP Custom Response Headers - Under this option, enter a custom HTTP response header.
- Key - Enter the custom header key. For example, X-Forwarded-For.
- Value - Enter the value for the key. For example, 192.168.1.1.
- For this article, we do not add custom headers.
Additional Settings
-
Send client certificate - Enable this checkbox to send the client certificate to the server for mTLS, if the server is configured for mTLS.
-
Click the search box to select a certificate from the system vault. A valid certificate must be uploaded to the Vaults > Secrets page for it to appear here.
-
If a certificate is not stored in the vault, click the + symbol to upload a certificate and its private key.
- For this article, we do not select a client certificate.
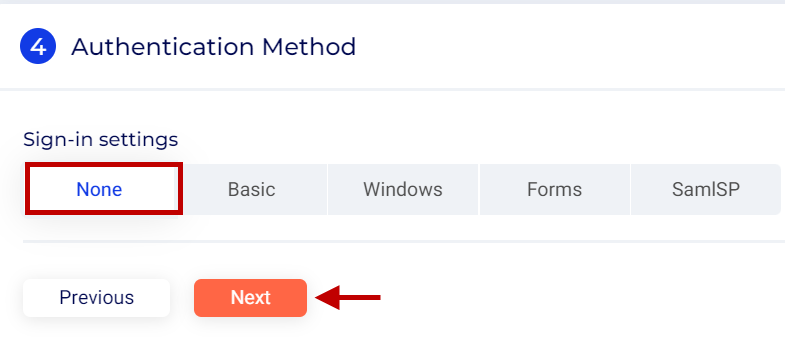
Authentication Method - Sign-in Settings
Set the authentication parameters for logging in to the server after connecting to it. For more information
on authentication methods, refer to the section: Authentication Method.
- For the purpose of this article, we select None.
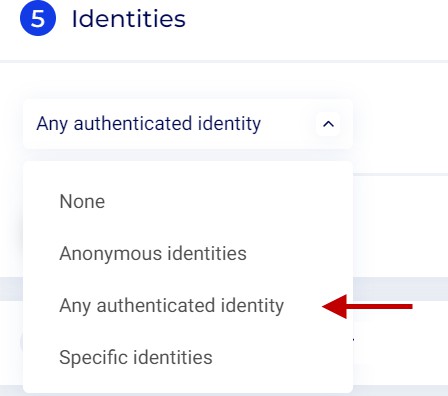
Identities
Specify the users or user groups that can log in to the Cyolo Application Portal to view and access the
server. For more information on configuring identities, refer to the section: Identities.
- For the purpose of this article, we select Any authenticated identity.
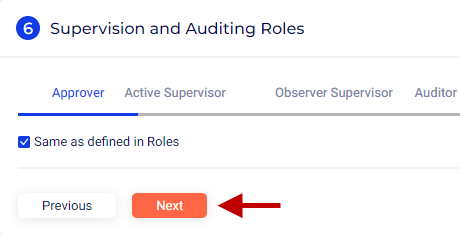
Supervision and Auditing Roles
- For the purpose of this article, we retain the default settings for each role. Keep the option Same as defined in Roles enabled.
Note: Although the Auditor tab is displayed, auditing is not supported in web applications.
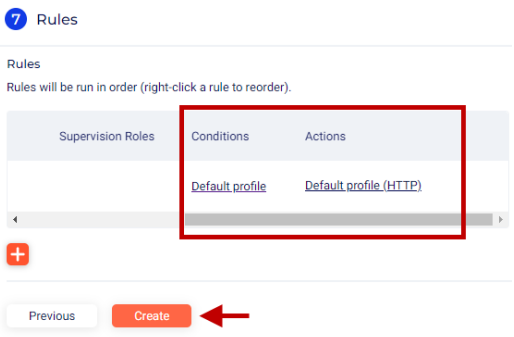
Rules
For more information, refer to the section: Rules.
-
Rules - Click the + button to add a rule.
-
Keep all options at default, including Default profile under Conditions and Default profile (HTTPS) under Actions.
-
Click Create to publish the application.
Updated 11 months ago