Adding Applications
How to Add an App
- At the top right side of the page, click New and then Application to add an application.
- The Create New Application screen appears. Click Switch to advanced mode.
- The Applications/New screen appears:
-
Name - Enter a name for the application to be created. The name must be unique and can contain text, numeric, and special characters.
-
Description - Enter a descriptive name for the application, preferably denoting the nature and function of the application.
-
Display the description to end user - Enable this checkbox if you require the description to be displayed to the end user.
-
Categories - Optionally, select a category from the drop-down list. For more information on creating categories, refer to the section: Add Application Category.
For additional information, see the Applications - Configuring Connections section of the documentation.
Simple Application Creation
- At the top right side of the page, click New and then Application to add an application.
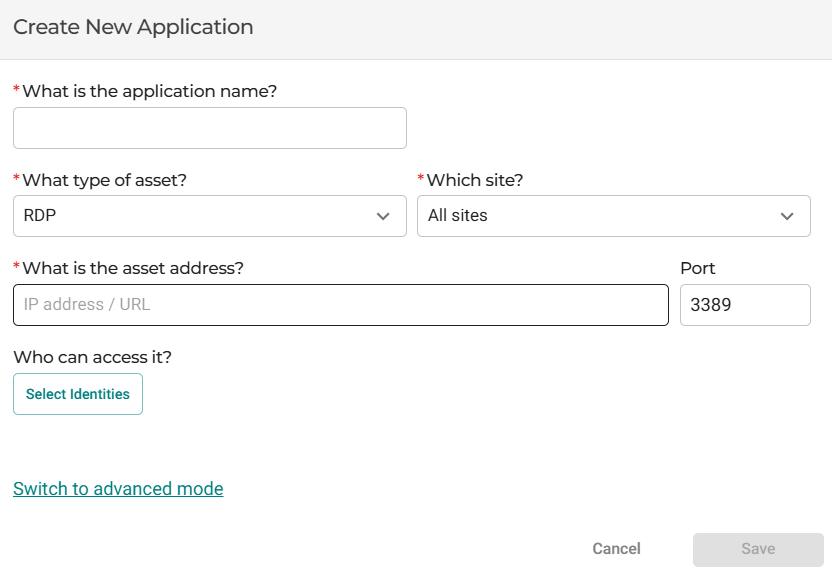
- The Create New Application screen appears.
- Enter a name for the application to be created. The name must be unique and can contain text, numeric, and special characters.
- Add the type of asset. The types available are RDP, SSH, VNC, and Web (HTTPS).
- Choose a site, or select All sites.
- Add the asset IP address/URL.
- Add the users or groups who can access the application.
- Click Save.
Note that you will need to switch to advanced mode - as described above - to set additional parameters such as categories. providers and protocols, etc.