Configuring Network Access (TCP & UDP)
Prerequisites
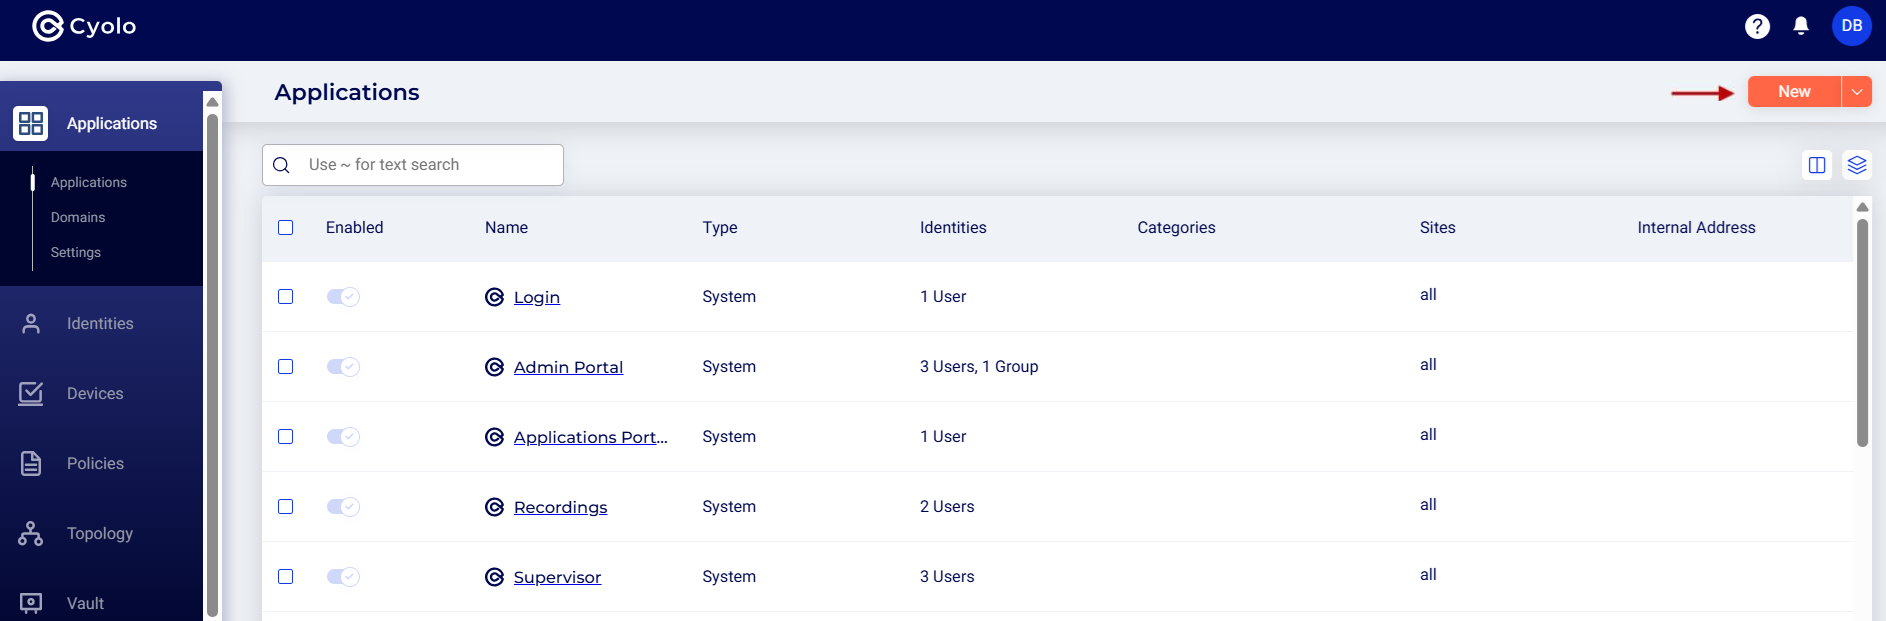
- Download Cyolo Connect from the Cyolo Application Portal.
Configuration
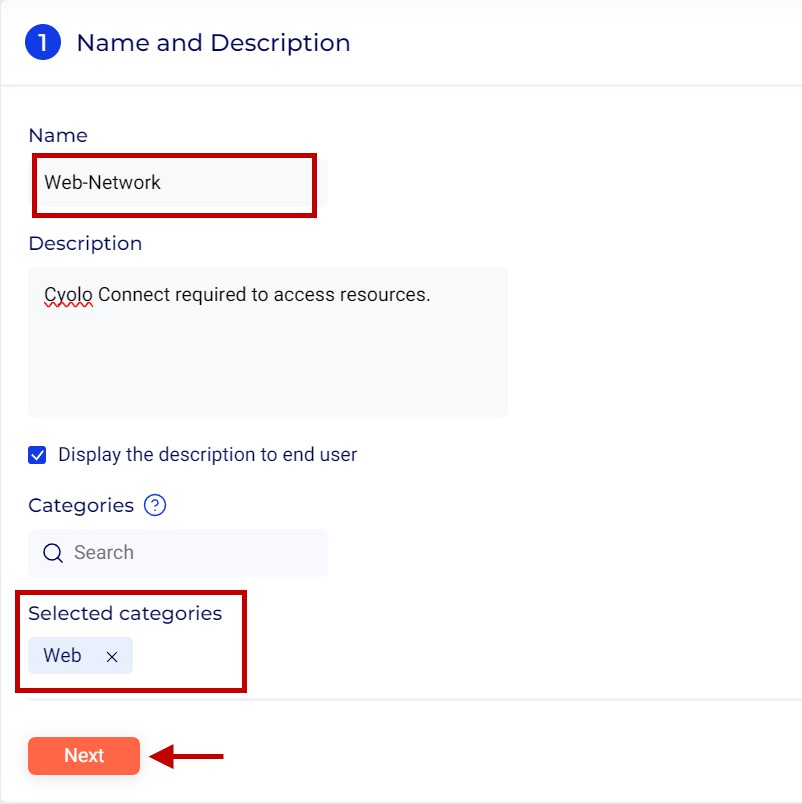
- Name and Description
Categories - Optionally, users can click the search bar to select a category. For this article, we
choose the category Web, which was created on the Applications > Add > Category page. Identities, Supervision and Auditing Roles, and Rules set under a category are applied
to all its members. For more information on configuring categories, refer to the section: Add Application Category.
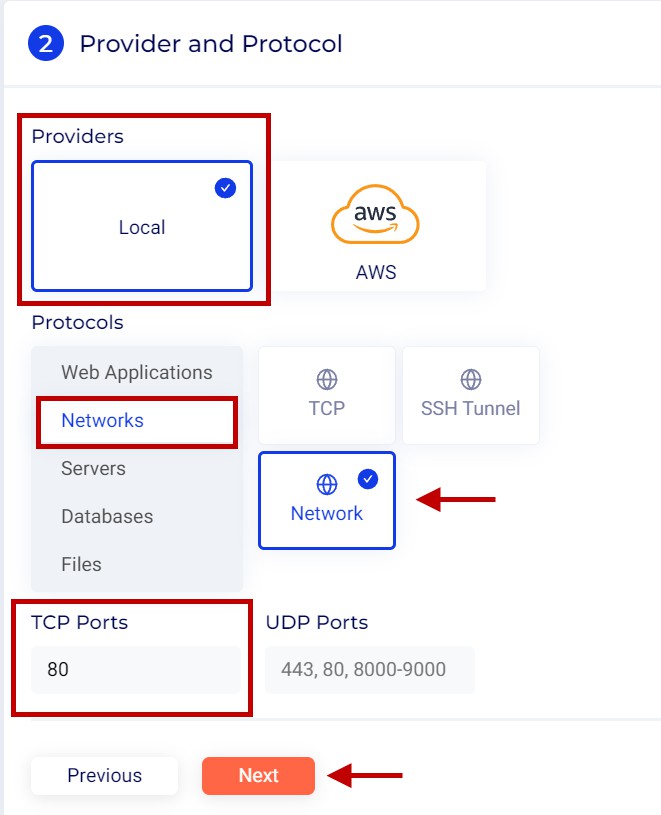
Provider and Protocol
Set the location and protocol information of the server.
Application Parameter
-
Providers -- The Cyolo platform currently supports applications hosted in two locations: Local and AWS. For this article, we will select Local.
-
Protocol - Click Networks and select Network.
-
TCP Ports -- Enter the TCP port number to be given access to remote users. Enter single, multiple, or a range of port numbers. In this example, we enter 80.
-
UDP Ports - Enter the UDP port number to be given access to remote users. Enter single, multiple, or a range of port numbers. In this example, we leave it blank.
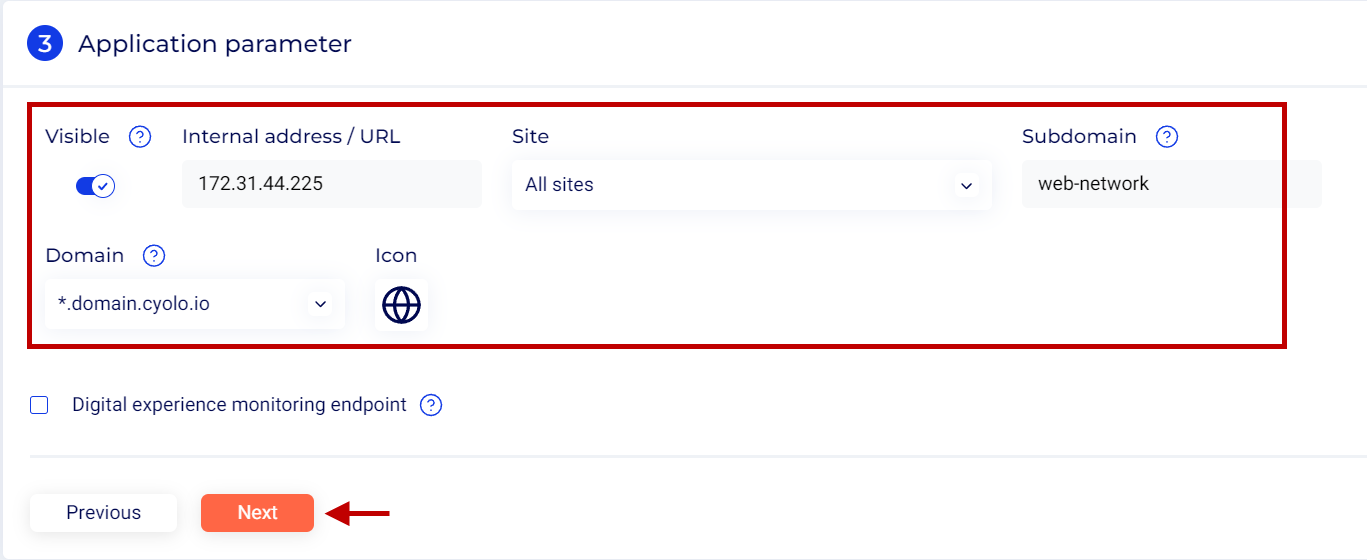
Set the internal and external IP address or URL of the server, and other parameters.
Configuration options specific to this article are shown here. For more information on the various options available while configuring applications, refer to the section: Application Parameters.
-
Internal address/URL - Enter the internal IP address or URL of the server. For this article, we enter 172.31.44.225.
-
Site - Click the drop-down under Site to select either All Sites or a specific site by name.
-
Subdomain - Enter a prefix name preceding the tenant domain name. In this example, we enter web-network.
-
Domain - Domains added under the Applications > Domains page are listed here. By default, the tenant domain is displayed in this field. Click the drop-down to select the domain of your choice. For this article, we select the domain *.domain.cyolo.io. The published URL will be web-network.domain.cyolo.io. In this case, though the application is displayed on the Applications Portal, clicking on it will have no effect.
-
Digital experience monitoring endpoint -- This option allows the portal admin to specify an IP address and port number of a host within the internal network to monitor application health. For this article, we do not enable this option.
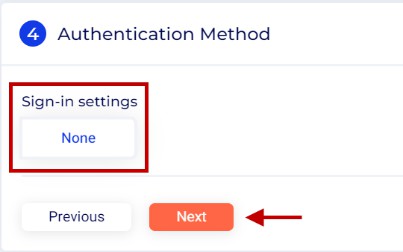
Authentication Method - Sign-in Settings
Set the authentication parameters for logging in to the server after connecting to it. For more information
on authentication methods, refer to the section: Authentication Method.
- None -- No authentication parameters need to be set up here. If authentication is configured on the endpoint server, it must be done when connecting using the server's native application.
Identities
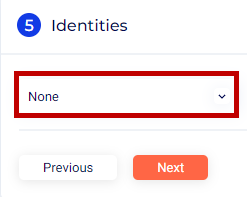
Specify the users or user groups that can log in to the Cyolo Application Portal to view and access the server. For more information on configuring identities, refer to the section: Identities.
- For the purpose of this article, we select None as user authentication is configured at the category level. Since this application is added to the category Web, the identity and other parameters selected within the category are inherited by this application.
For more information on configuring categories, refer to the section: Add Application Category.
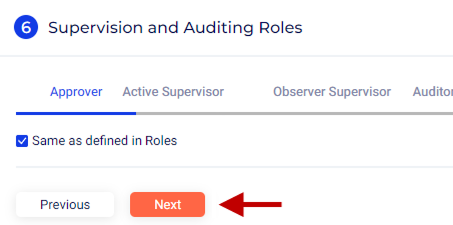
Supervision and Auditing Roles
For more information on Supervision and Auditing, refer to the section: Supervision and Auditing Roles.
- For the purpose of this article, we retain the default settings for each role. Keep the option Same as defined in Roles enabled.
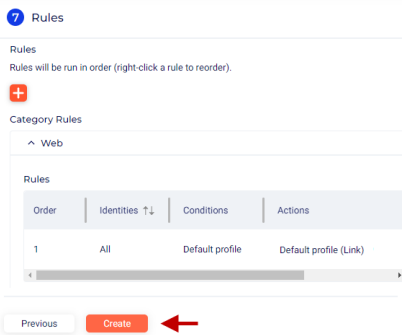
Rules
For more information, refer to the section: Rules.
-
Rules -- Since this application belongs to the category Web, a rule is auto-created with authentication parameters set at the category level. This is applied to all applications added to the category Web.
-
Click Create to publish the application.